The IDE (Integrated Development Environment) is used for developing applications in AGK using Tier 1 (BASIC).
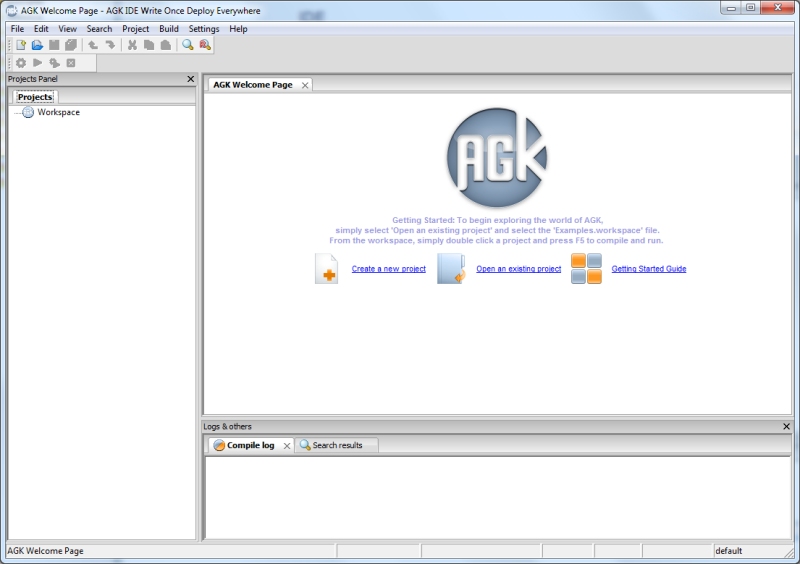
Upon launching the IDE you will be presented with this screen, from where you can handle tasks such as creating or opening a project, altering IDE settings and viewing the documentation:
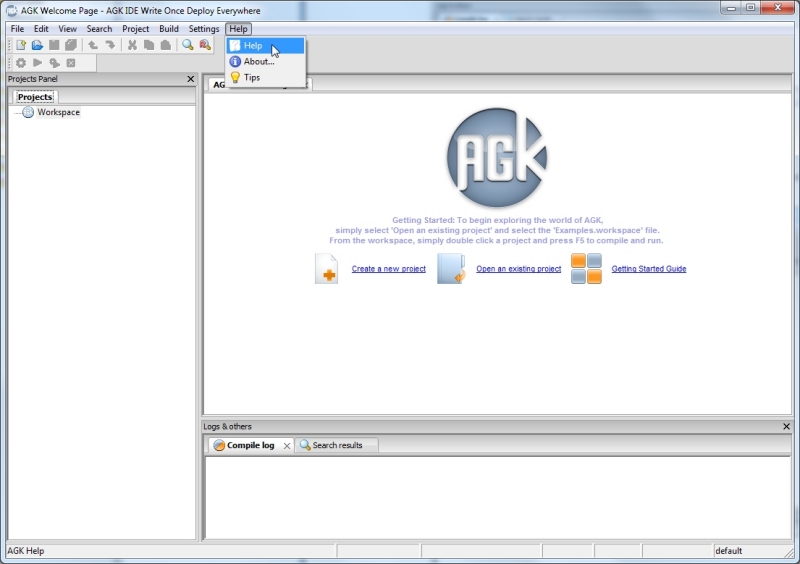
AGK comes supplied with extensive documentation covering areas such as the principles of the language (BASIC), guides explaining topics like sprites, full explanations of all examples and a reference section covering the command set. To view the documentation select the Help menu and then click on the Help link:
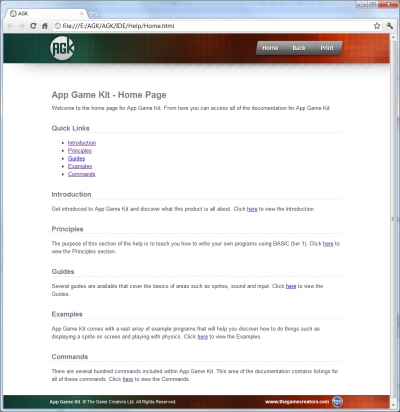
The documentation will open in your default web browser and display the home page, from where you can access all of the content:
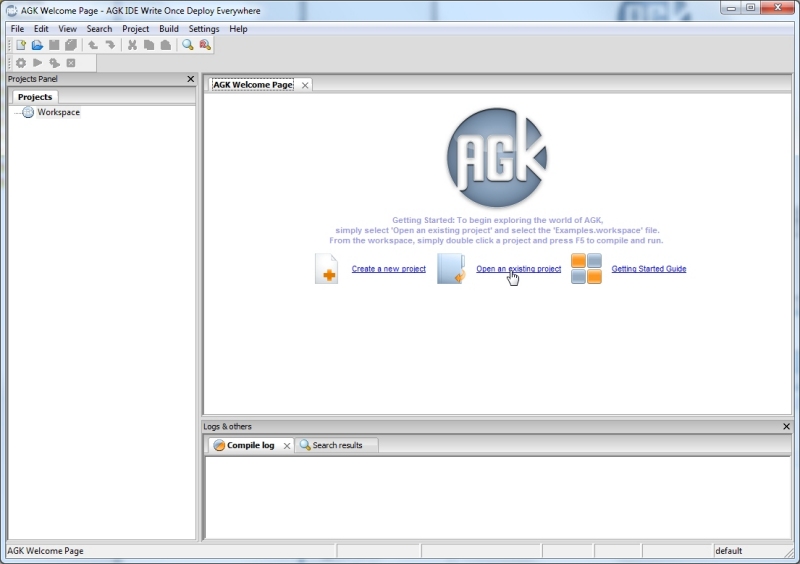
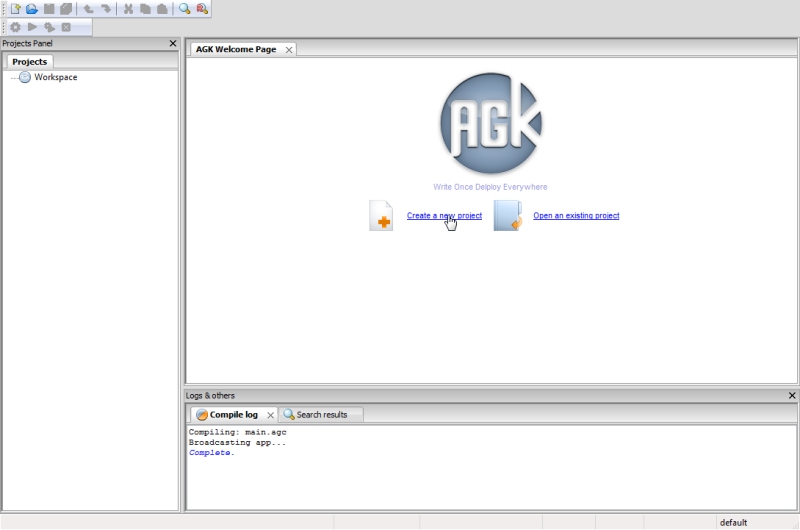
The IDE displays a Welcome screen upon launch. This screen provides the option to create a new project or open an existing project or workspace. A project is a standalone program, while a workspace is a collection of projects. Click on the link to Open an existing project:
Using the open file dialog, navigate to the location where AGK is installed and enter the Projects folder:
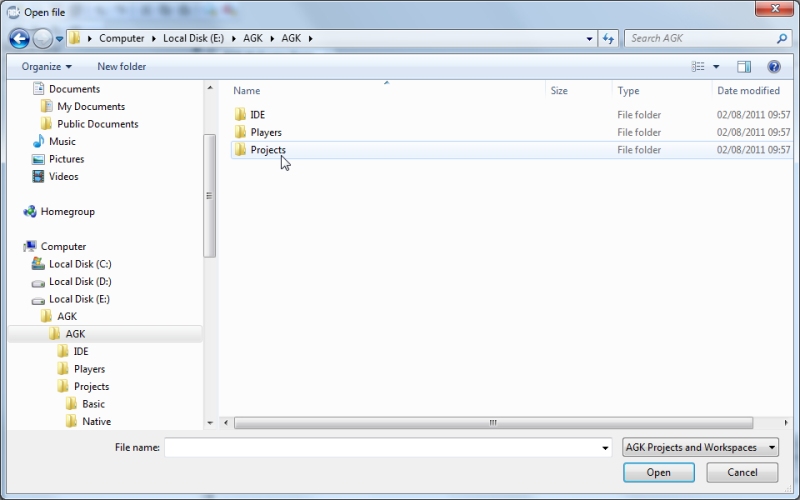
The Projects folder contains 2 folders; Basic and Native. The Basic folder contains contents for Tier 1 users, while the Native folder contains content for Tier 2 users. Select the Basic folder:
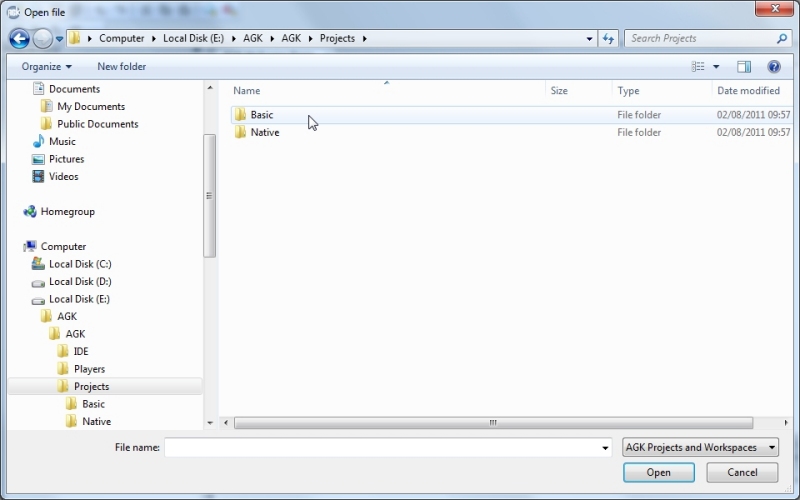
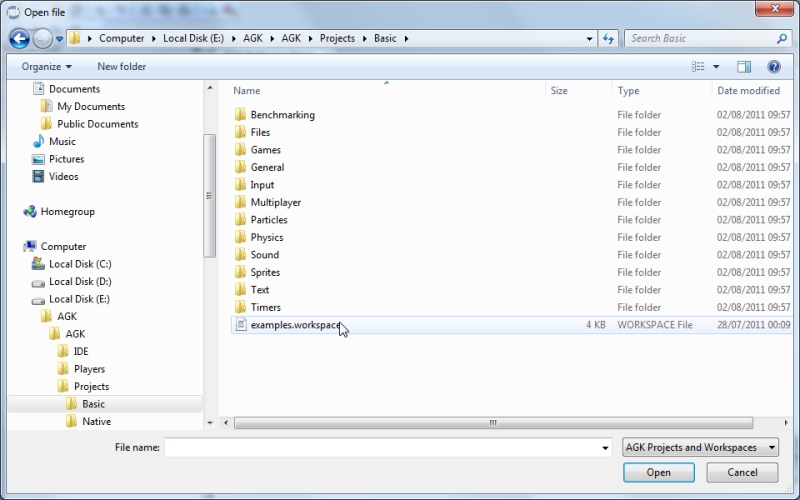
Within the Basic folder is a file named examples.workspace. This workspace holds a collection of all the example programs provided with AGK. Select examples.workspace and click on the Open button.
Once the workspace has opened, the Projects Panel on the left side of the IDE will display a list of projects. Each of these projects is a self contained program that can be run on its own.
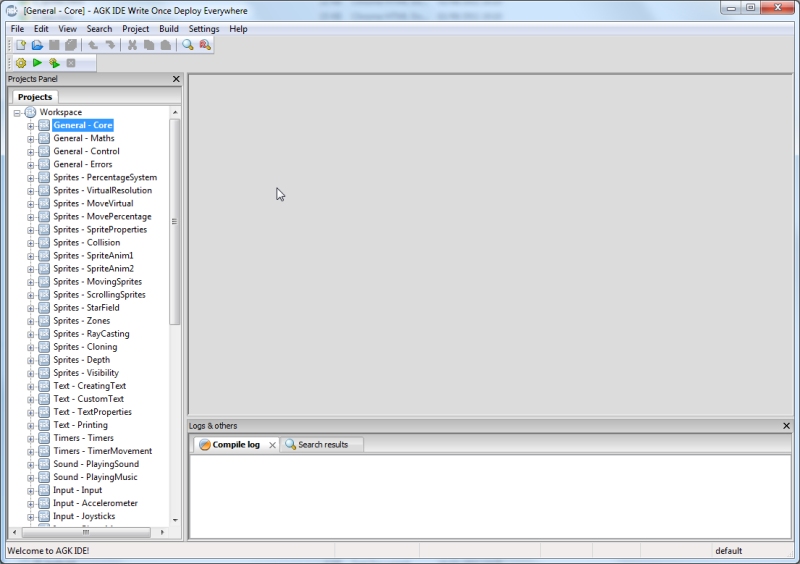
By default the workspace General - Core will be in bold. This means that this is the currently active project. Click on the + button next to General - Core. You will now see a blue folder called Source Code. Click on the + button next to Source Code. This will expand to show you main.agc, which contains the source code for this particular project. Double click on main.agc:
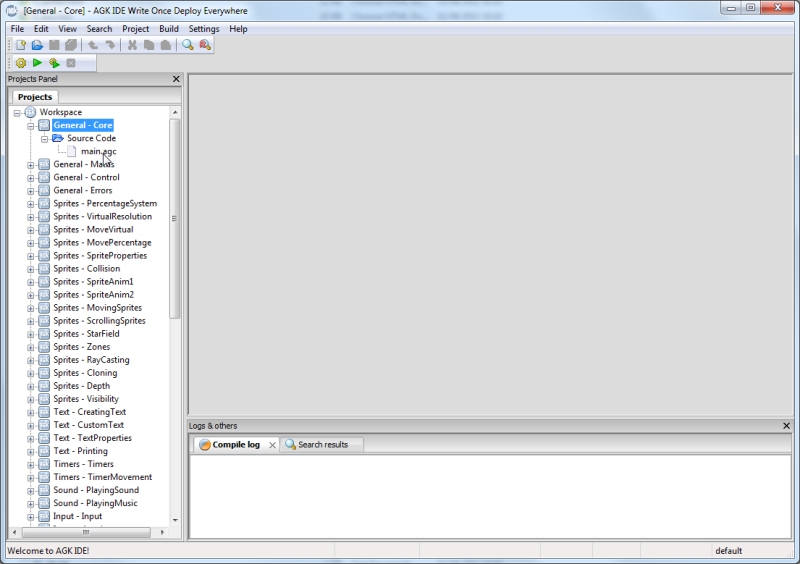
After double clicking on main.agc the IDE will open a code window on the right side:
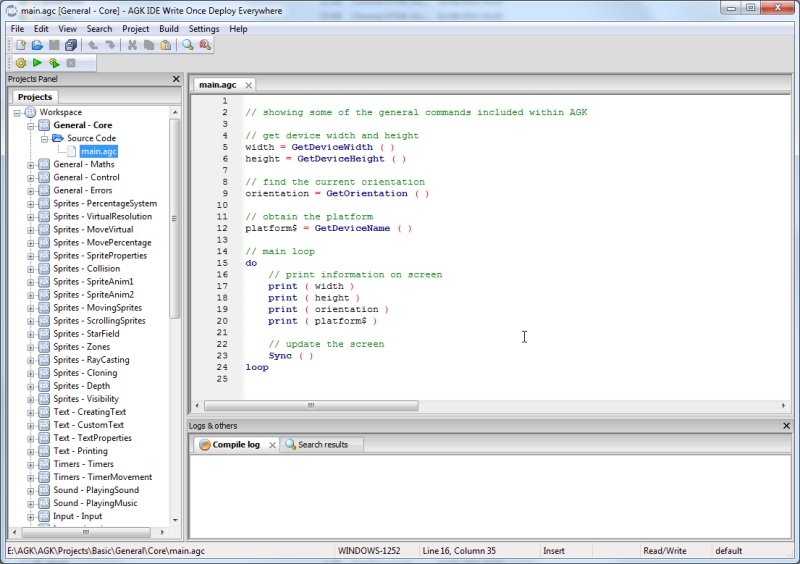
To run this program select the Build menu and then Compile, run and broadcast:
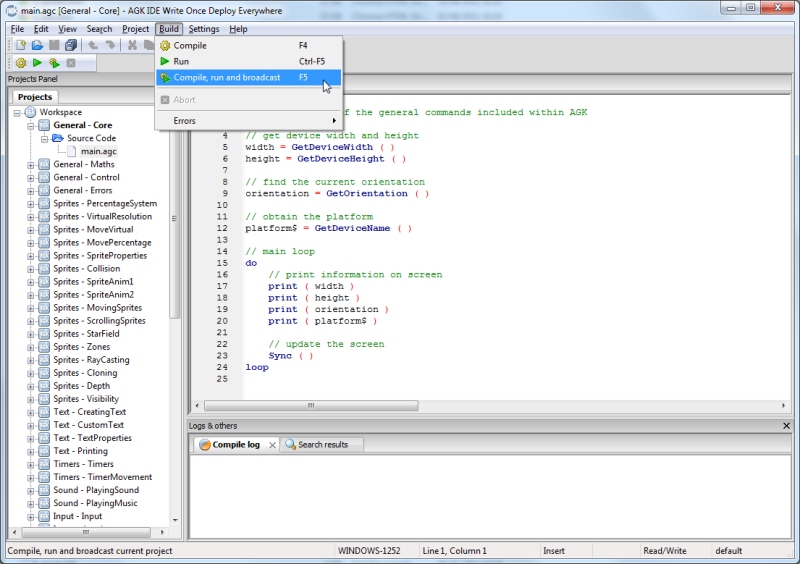
The Compile, run and broadcast button can also be selected from the toolbar:
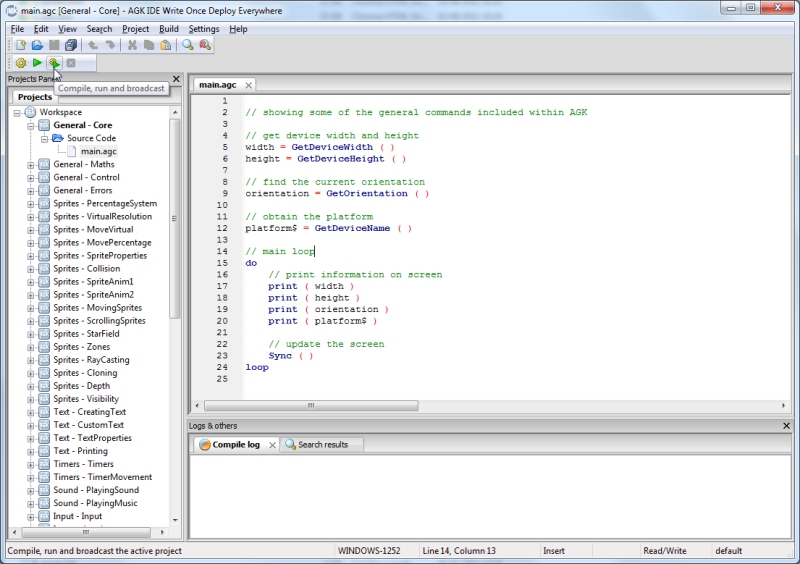
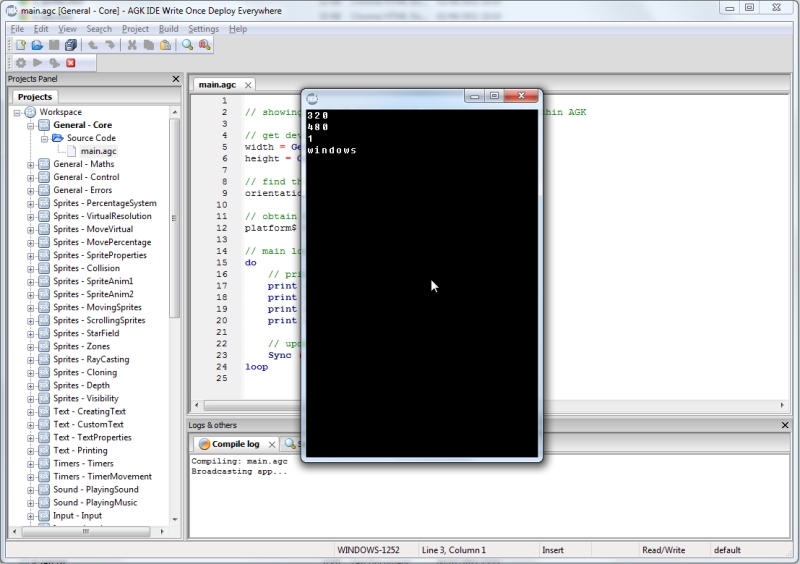
After selecting Compile, run and broadcast either from the toolbar or menu the example program General - Core will be launched and a small window will pop up on screen and display some information:
Three options are available for the compilation process -
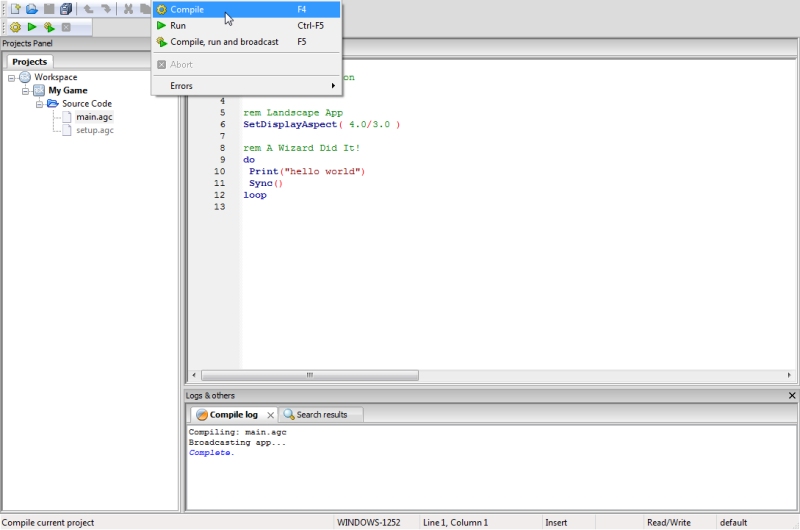
The Compile button will only compile the program. This is useful for checking whether there are any syntax errors within your program:
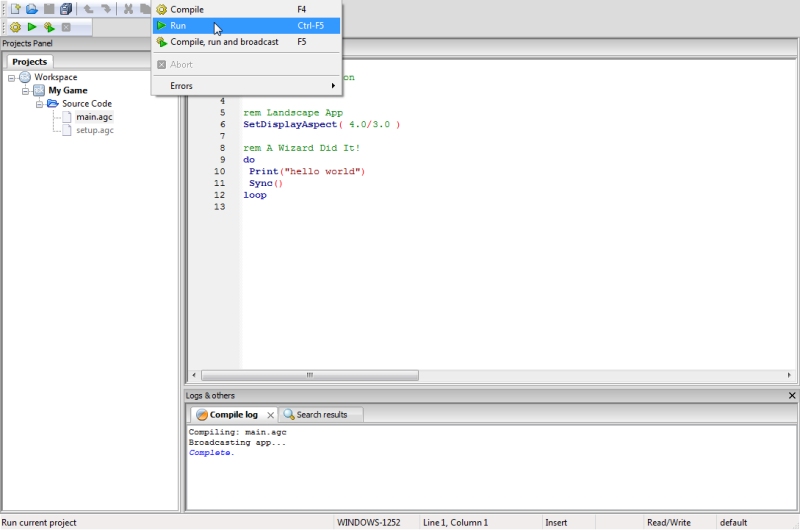
The Run button will launch the last compiled program. If you haven't made any changes to your program and want to launch it again select the Run option. The benefit of this is that your program does not need to be compiled again and can save time:
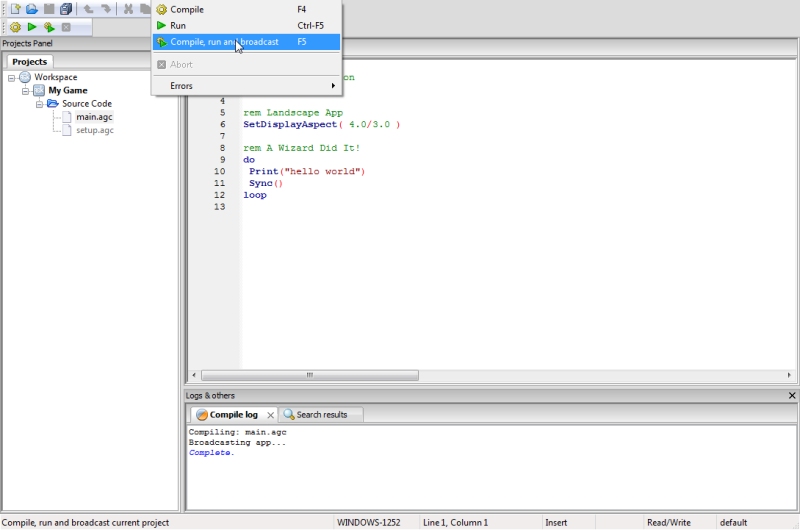
The Compile, run and broadcast button will compile the program, run it and broadcast it across your network for testing on platforms that use the AGK Player:
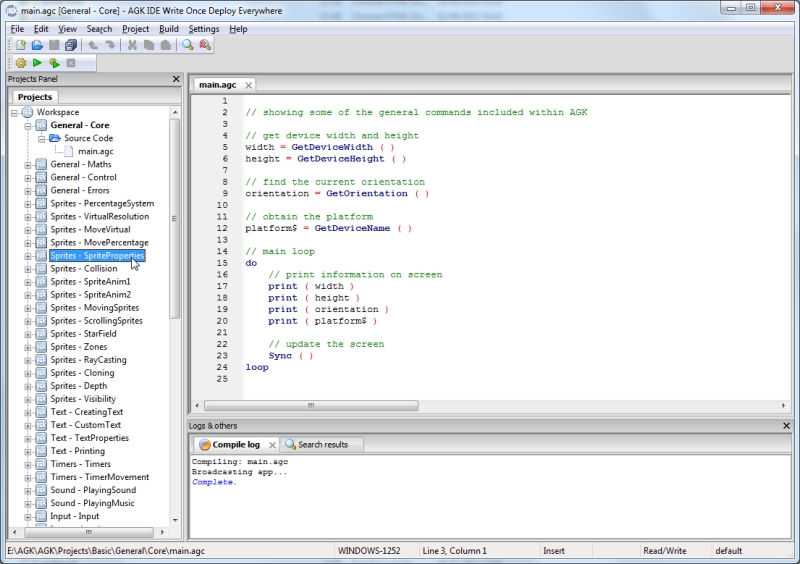
The Compile, run and broadcast option runs the currently activated project. To activate the project Sprites - SpriteProperties select it from the list of projects in the Projects Panel:
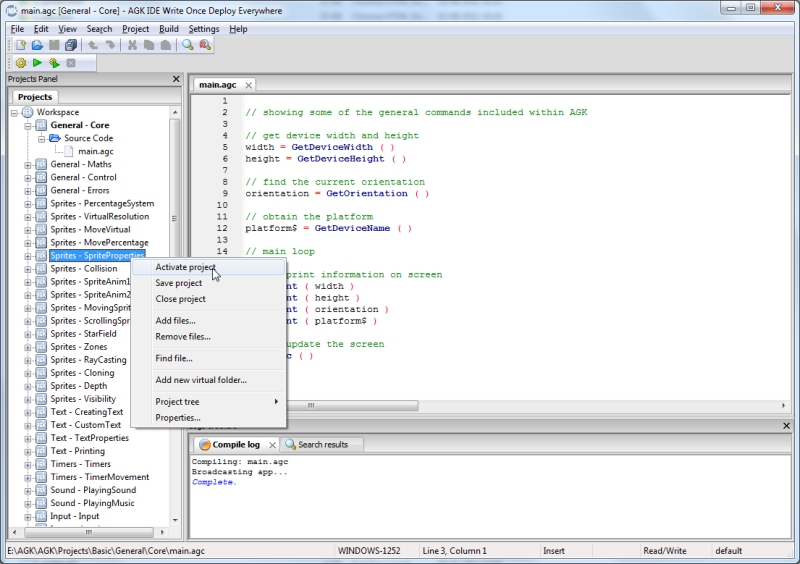
Right click and a popup menu will appear, click on Activate project:
Expand the items for Sprites - SpriteProperties in the Projects Panel:
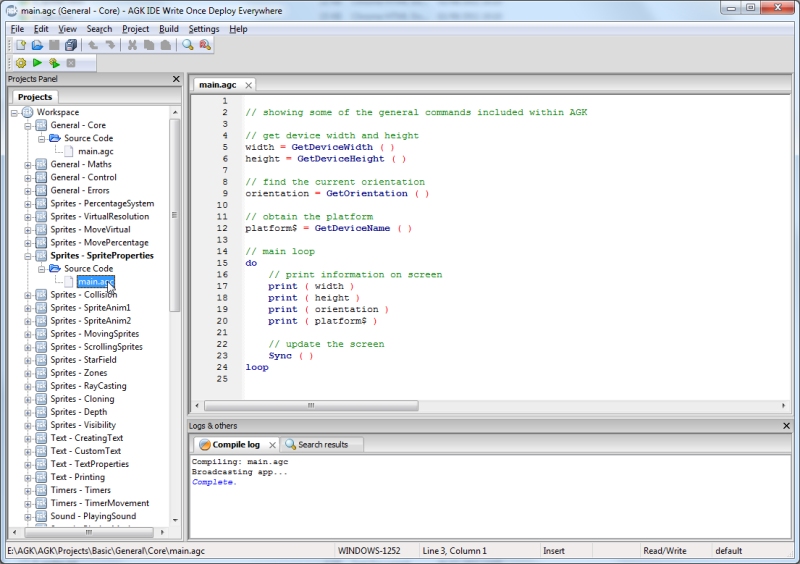
Double click on main.agc and the source code will be displayed in the main editing area:
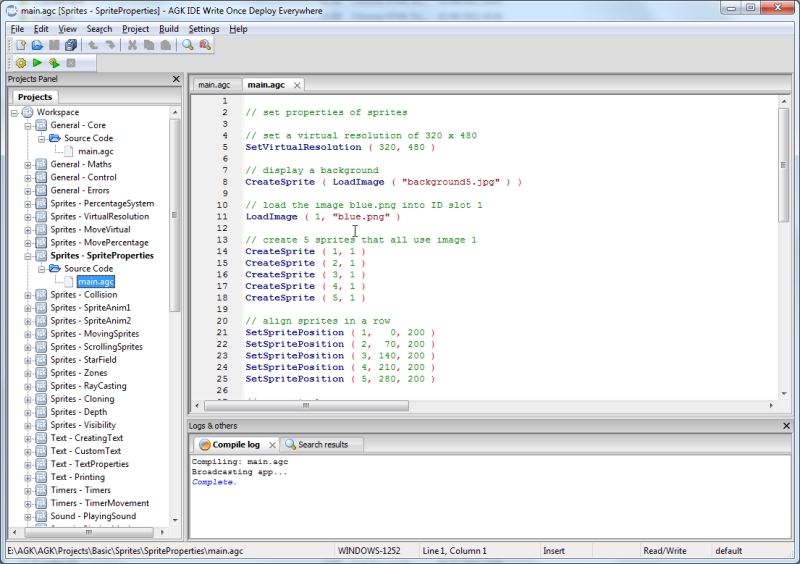
Now that the project Sprites - SpriteProperties is active, select Compile, run and broadcast from the toolbar:
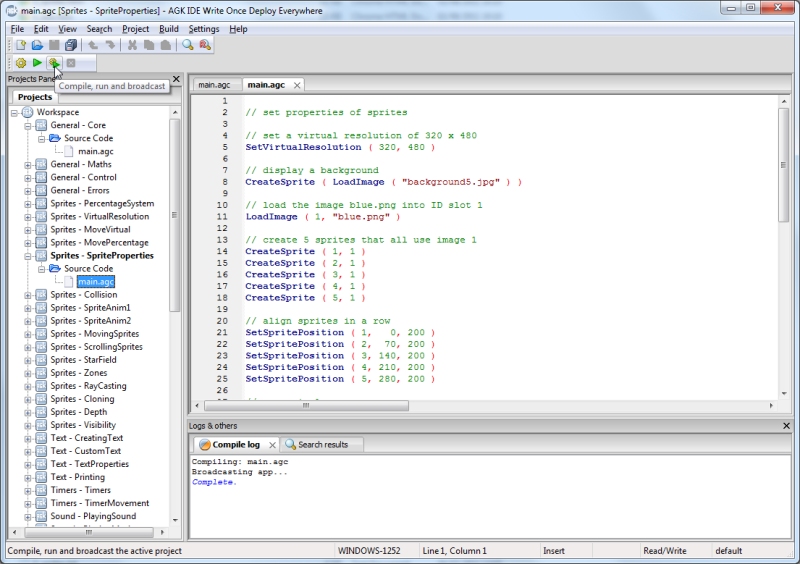
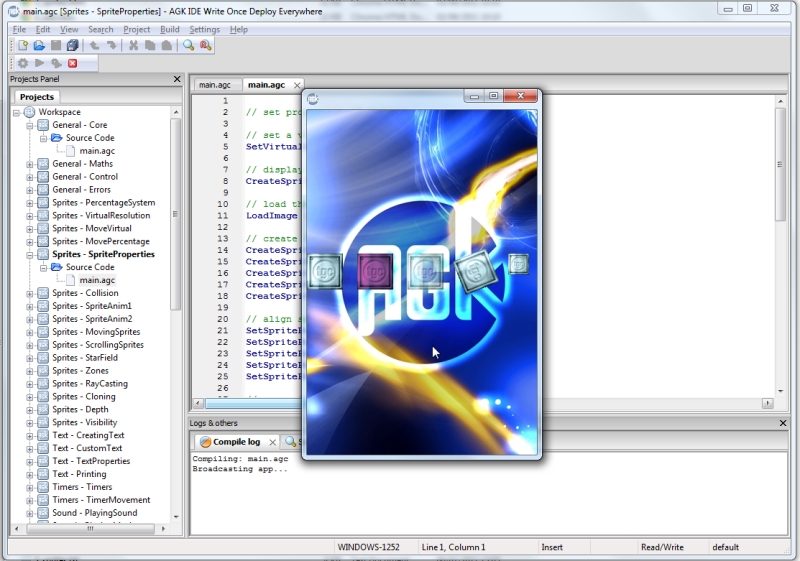
The program will launch and be displayed on screen:
To return to the Welcome screen close the currently open workspace by going to the File menu and selecting Close Workspace. The Welcome will be displayed. Select Create a new project:
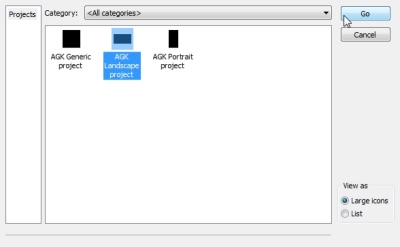
A dialog will be displayed that allows you to select what kind of project you want to create. The available options are:
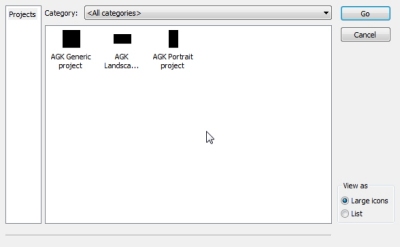
Select AGK Landscape Project and click on the Go button:
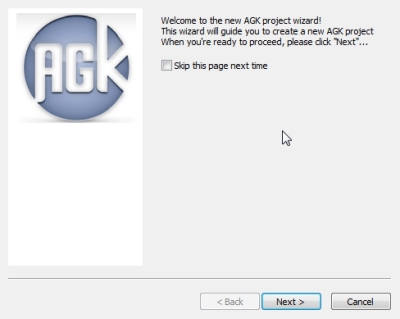
A dialog will be displayed with more information. Select Next to continue:
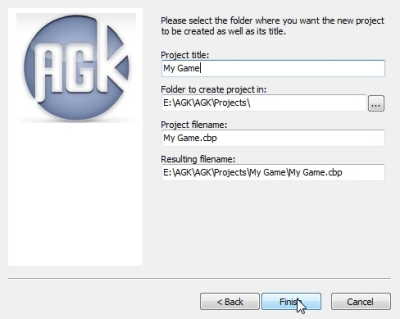
The next dialog will prompt you for more details about the project. After suppling a name for the project the other fields will be filled in automatically. Click on Finish to complete the process:
You will now be presented with your project:
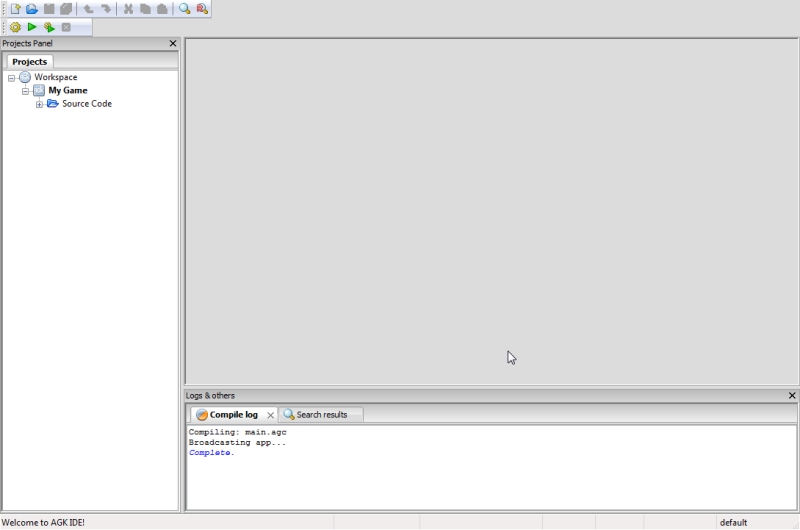
Within the Projects Panel expand the projects file listings:
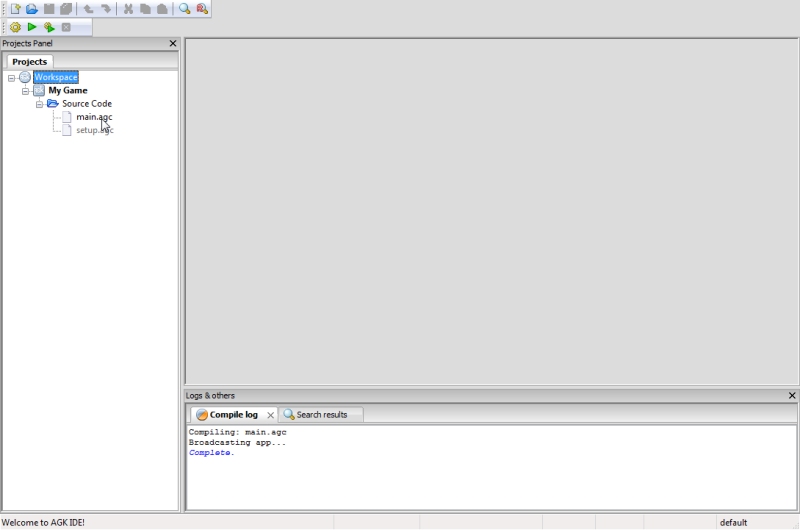
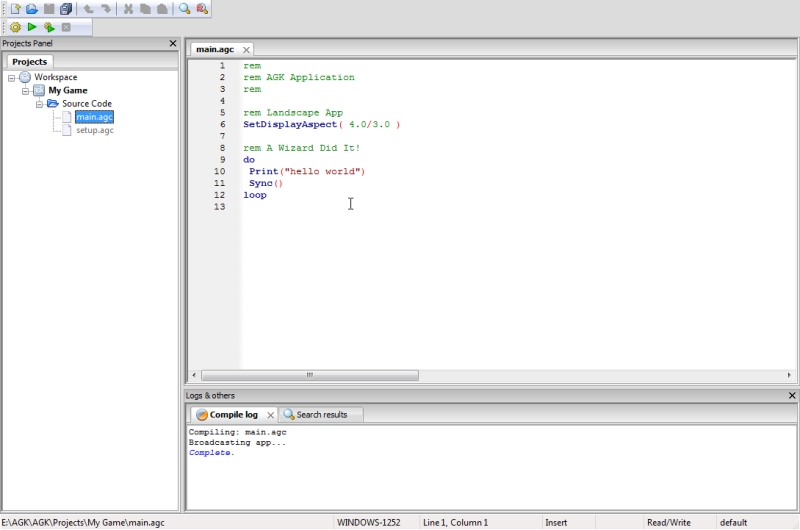
Double click on main.agc and the code for this file will appear in the main editing area:
The file named setup.agc will be automatically added to any new project. This file is used to set properties for your application when running on platforms that create a window, such as Mac OS X and Microsoft Windows. Try opening the file:
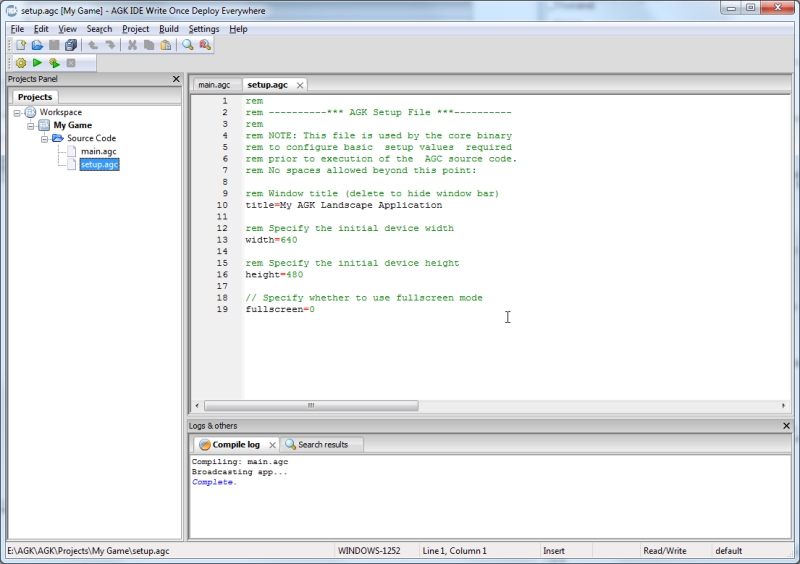
You can edit each of the fields within this source file to modify the window title, the width and height of the window and whether the application is to launch in full screen mode. For example, on Windows you may prefer your application to have a windows size of 1024 x 768, so you need to open setup.agc, edit the width line so it shows width=1024 and then edit the height line to height=768. The fullscreen value is 0 by default, meaning a window will be created, changing this to 1 will ensure your application uses full screen on Windows and Mac OS X.